If you’ve been tracking your spending in a spreadsheet or another app for a while, that history is valuable. It shows how your spending has changed, what a normal month looks like, and where your money tends to go. Starting from zero in a new app throws all of that away.
The good news is that almost every budgeting tool can export and import CSV files, a simple format that nearly everything understands. Here’s how to move your data across cleanly.
What is a CSV file?
CSV stands for “comma-separated values”. It’s a plain text file where each line is a row and commas separate the columns, like a very basic spreadsheet. For example:
Date,Amount,Category,Account,Note
2026-07-01,-45.20,Groceries,Bank,Weekly shop
2026-07-02,-3.80,Food & Drink,Cash,Coffee
2026-07-03,2400.00,Salary,Bank,July pay
You can open it in any spreadsheet app, which makes it easy to check and tidy up before importing.
Step 1: Export from your old app or spreadsheet
- From another app: look in its settings for “Export”, “Backup” or “Download data”. Choose CSV if there’s an option.
- From a spreadsheet: use “Download as” or “Save as” and choose CSV. If you have several sheets, export each one separately.
Keep the original file untouched somewhere safe. Always work on a copy.
Step 2: Check the file before importing
Open your copy in a spreadsheet app and look for common problems:
- Header row. The first row should name the columns: date, amount, category and so on.
- Dates. Make sure they’re consistent. A mix of
07/08/2026and2026-08-07can be ambiguous: is that July 8th or August 7th? - Amounts. Look for stray currency symbols, text like “USD”, or blank cells.
- Expenses vs. income. Some apps export spending as negative numbers; others use a separate “type” column. Note which yours uses.
- Summary rows. Delete any “Total” or “Balance” rows at the bottom. They’re not transactions.
Step 3: Watch out for number formats
This is the most common source of import errors. Different countries and apps write numbers differently:
| Written as | Means |
|---|---|
1,234.50 |
One thousand two hundred thirty-four and a half (US/UK style) |
1.234,56 |
The same idea, European style: dot for thousands, comma for decimals |
$1 234.50 |
Space as a thousands separator |
(12.50) |
Accounting style for a negative number, meaning −12.50 |
A good importer handles these automatically, but it’s worth knowing about them if something looks off.
There’s one more invisible trap. Excel sometimes adds a hidden character (a “byte-order mark”) to the very start of a CSV file. Some importers then fail to recognize the first column name. If your date column mysteriously isn’t detected, this is often why.
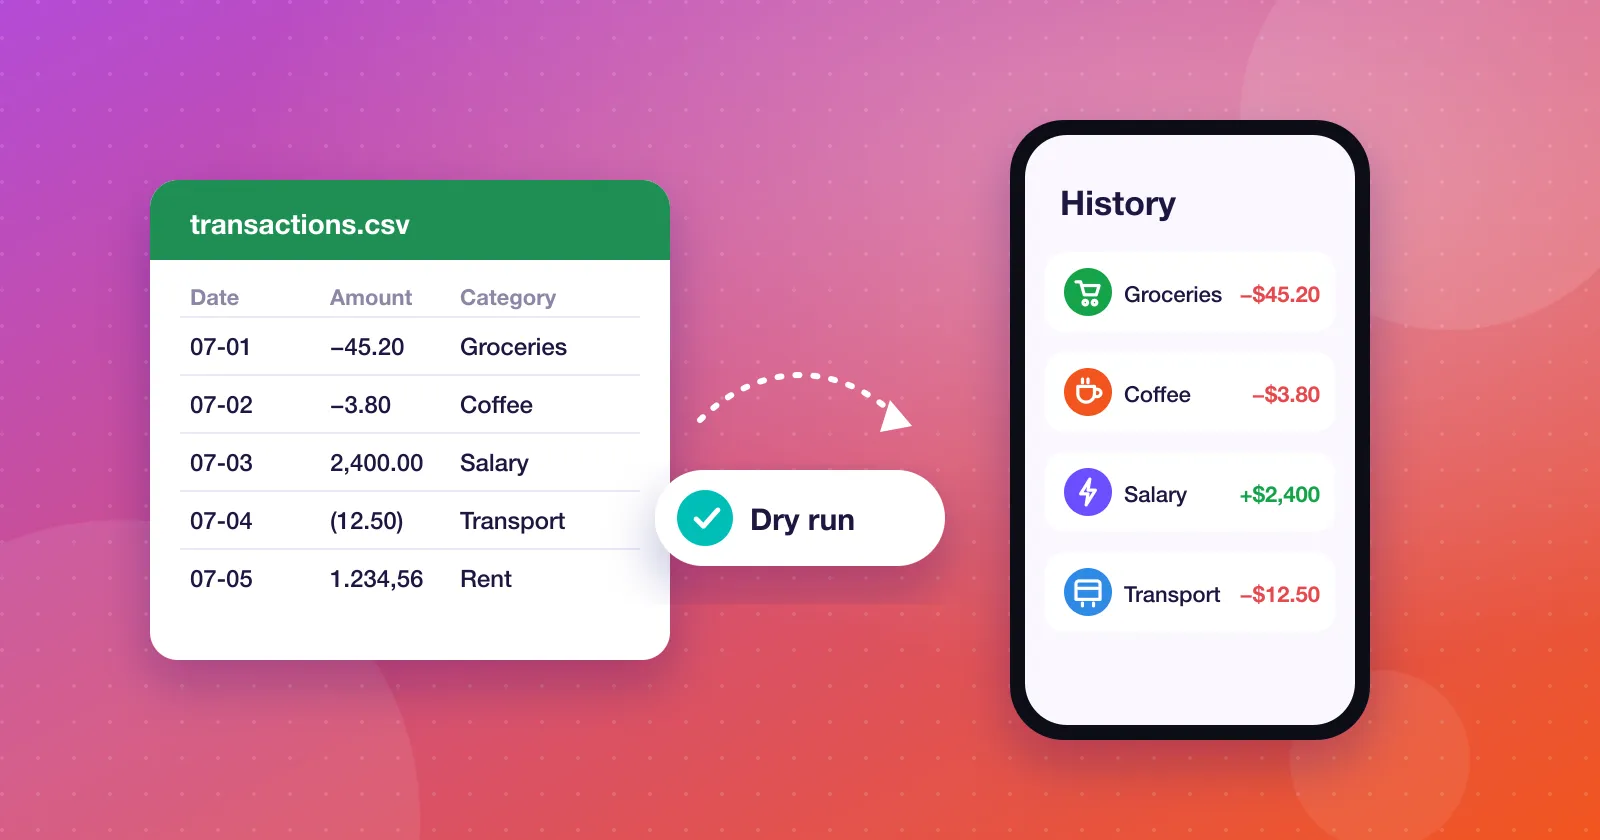
Step 4: Do a dry run
Never import straight into your real data without checking first. A good importer shows you a preview before anything changes.
In Expense Manager, a CSV import always starts with a dry run. It shows you:
- How many rows it can read
- The date range they cover
- Which new accounts and categories it would create
- How many rows it would skip, and why
The importer also understands all the number formats in the table above, and it strips that hidden Excel character automatically.
If the numbers in the dry run don’t match what you expect (say it can only read 900 of your 1,200 rows), cancel, fix the file, and try again. Nothing is changed until you confirm.
Step 5: Tidy up after importing
Once your data is in:
- Merge near-duplicate categories. “Groceries” and “Grocery” from different years? Pick one.
- Check your account balances. Set opening balances so today’s totals match your real accounts.
- Spot-check a few months against your old records.
Step 6: Keep your own backup
Now that your history is all in one place, protect it. Get into the habit of exporting a backup regularly, monthly is a good rhythm, and keeping it somewhere safe. In Expense Manager you can export to CSV at any time, or create a full JSON backup that restores everything, including accounts, categories, budgets and recurring entries.
The bottom line
Your spending history belongs to you. With a clean CSV and a careful dry run, moving it between apps takes minutes, not a weekend. And your new app gets to start with years of context instead of a blank page.