Subscriptions are designed to be easy to start and easy to forget. A free trial here, a “just $4.99 a month” there, an annual renewal you agreed to a year ago and haven’t thought about since. Individually they’re small. Together, they can add up to a surprising amount every year.
The good news: finding and trimming them is one of the quickest wins in personal finance. Set aside an hour and work through this process.
Step 1: Gather three months of statements
Pull up bank and card statements for the last three months. Three months matters. It catches monthly charges several times over, which makes them easy to spot, and it may catch some quarterly ones too.
Don’t forget:
- Every credit and debit card you have, including ones you rarely use
- PayPal or other payment accounts
- Your phone’s app store subscriptions page (both Google Play and Apple have one)
- Charges added to your mobile phone bill
Step 2: List every recurring charge
Go line by line and write down anything that repeats. For each one, note:
- The name of the service
- How much it costs
- How often it charges (monthly, quarterly, yearly)
- The date it renews
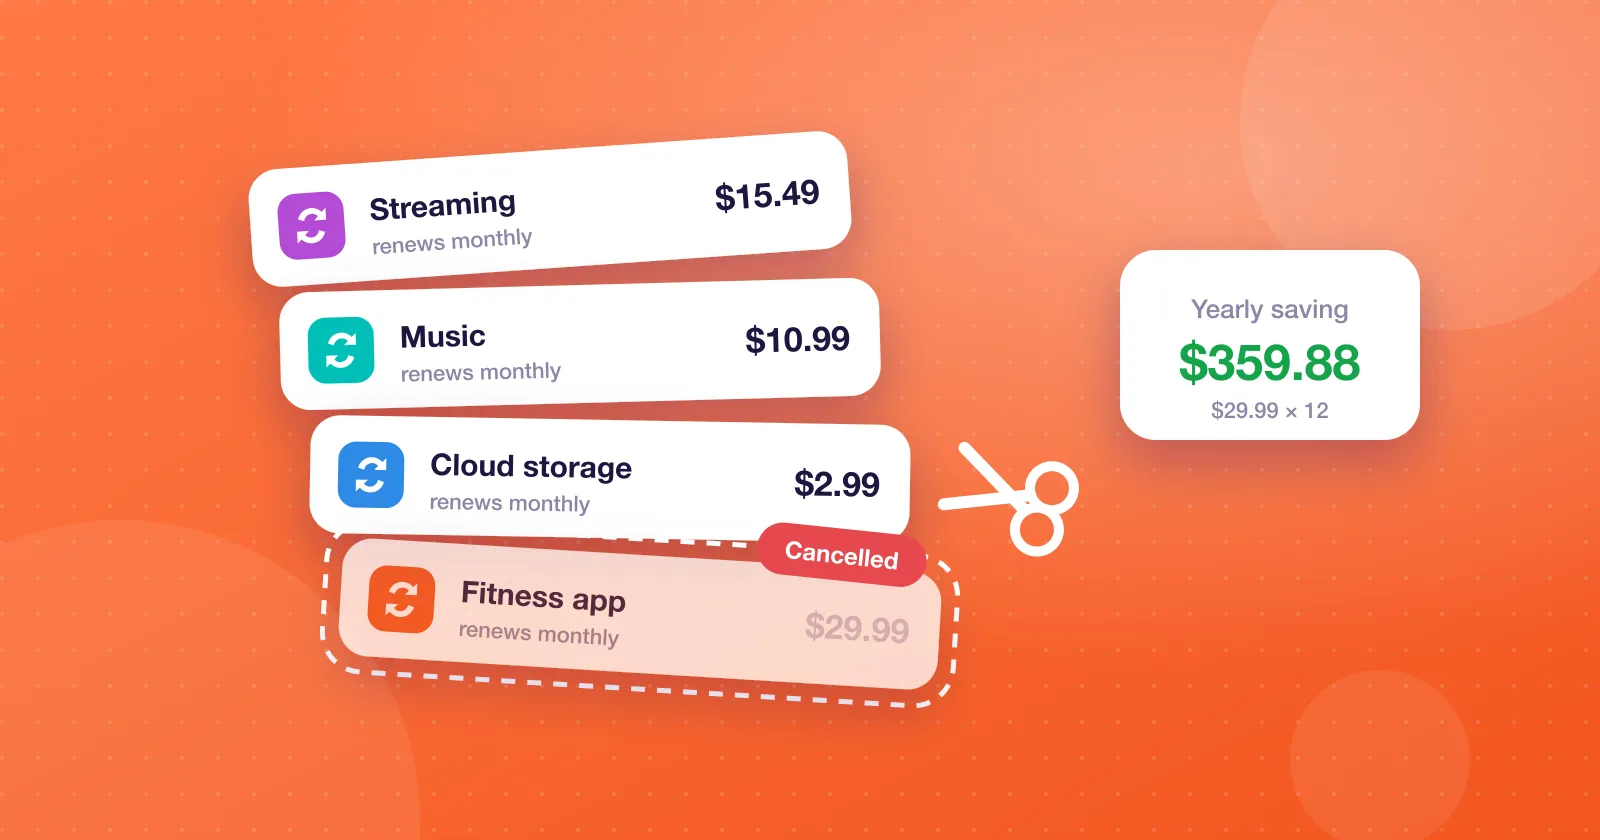
Then convert everything into a yearly cost. This is the most revealing part of the exercise. A $12.99 monthly subscription feels trivial; $155.88 a year does not.
Step 3: Hunt for the hidden ones
Some recurring charges are easy to miss:
- Annual renewals that only appear once a year and won’t show up in three months of statements. Search your email for words like “renewal”, “subscription” and “receipt” to catch them.
- Price increases on services you already have. Compare what you pay now with what you signed up for.
- Duplicates, like two cloud storage plans, two music services, or a streaming service you pay for directly and through a bundle.
- Trials that converted to paid plans without you noticing.
Step 4: Sort into keep, cut and downgrade
For each subscription, ask honestly: If I didn’t have this, would I sign up for it today at this price?
- Keep: you use it often and it’s worth the money.
- Cut: you haven’t used it in a month or more, or you forgot it existed.
- Downgrade: you use it, but a cheaper tier or an annual plan would do.
A useful trick for entertainment services: rotate rather than stack. Keep one streaming service at a time, watch what you want on it, then cancel and switch to another.
Step 5: Cancel properly
When you cancel:
- Cancel through the same place you subscribed (the website, or your phone’s app store for in-app subscriptions). Deleting an app does not cancel its subscription.
- Keep the confirmation email or screenshot.
- Check your next statement to make sure the charge actually stopped.
Step 6: Stop them from creeping back
The audit is only half the job. The other half is making sure your recurring costs stay visible.
In Expense Manager, you can add each subscription you keep as a recurring expense, with its amount and how often it repeats. The app records each charge automatically when it’s due, even catching up on ones that came due while the app was closed. That way your subscriptions show up in your spending every month, and in your reports, rather than hiding in a bank statement.
Having them in one list also makes next year’s audit much faster. Put a reminder in your calendar and repeat the process once or twice a year.
A quick checklist
- Three months of statements from every card and account
- App store subscription pages checked
- Email searched for annual renewals
- Every charge converted to a yearly cost
- Each one marked keep, cut or downgrade
- Cancellations confirmed
- Remaining subscriptions set up as recurring entries
An hour of work now can save money every single month from here on. It’s one of the best-paid hours you’ll spend all year.